Setting up IP Infusion OcNOS on GNS3

Setting up IP Infusion OcNOS on GNS3

This article explains how to install GNS3 and run IP Infusion’s OcNOS.

Installing GNS3

To install GNS3 on your system, you need to follow the below steps: 

First, download GNS3 from the official website https://www.gns3.com/software/download

You can choose the latest version as per your operating system. In this example we are using Windows 10 Pro

Once the download is complete, run the setup file. The installation process is straightforward, and you can follow the on-screen instructions.

Finally, once the installation is complete, launch GNS3. You will be prompted to create a new project or open an existing project.

Now that you have installed GNS3, it’s time to install the GNS3 VM.


Installing GNS3 VM

To install the GNS3 VM, you need to follow the below steps:

First, download the GNS3 VM from the official website https://www.gns3.com/software/download-vm

You can choose your preferred virtualization software

GNS3 is a network simulation platform that allows users to create and test complex network topologies using virtual machines. GNS3 VM is a virtual machine that runs on top of a hypervisor, such as VMware or VirtualBox, and provides the necessary resources for GNS3 to function properly.

 The GNS3 VM is designed to work with VMware, which provides a more stable and reliable platform for running virtual machines, including network devices. Running GNS3 VM on VMware ensures that the virtual network devices perform optimally and the network simulations run smoothly.

 Furthermore, VMware provides support for advanced features such as nested virtualization, which is required for certain GNS3 features such as running a virtualized IP Infusion OcNOS network operating system image within GNS3. 

VMWare offers both free and paid versions of its software.

We are going to download VMware Workstation Player, which is a free version of its virtualization software.

 We can download it from the official website:

https://www.vmware.com/products/workstation-player.html

Next, import the virtual machine by right clicking on the downloaded OVA file, and opening it with VMware Workstation

You will be prompted by the “Import Virtual Machine” tab.

You can edit the name and the storage path for the new VM

Click “Import”

Next, we need to edit the preferences

Go to GNS3, Edit, Preferences, VMware, VMware VMs

Click New, “Run this VMware VM on my local computer” (in this case, on the main server), then choose the GNS3 VM and click finish.

Finally click apply, then OK.

You can edit the GNS3 VM preferences by going to Edit, Preferences, GNS3 VM.

Make sure the “Enable GNS3 VM” is toggled on

Choose your virtualization engine, for this example, we are using VMware Workstation, so choose the “VMware Workstation / Player (recommended)” option

Select the VM name under settings, and specify the action when closing GNS3.

Finally click “OK”

Adding an OcNOS Image to GNS3

To add an OcNOS image to GNS3, you need to follow the below steps:

First, download the latest OcNOS Image from the official website: https://www.ipinfusion.com/products/ocnos-vm/

Once the download is complete, go to GNS3, click File, Import appliance.


Choose your OcNOS appliance file.

You can download the appliance file from the IP Infusion website: https://www.ipinfusion.com/products/ocnos-vm/gns3/

Next, click on the “Install the appliance on the GNS3 VM (recommended)”


Next, choose the QEMU binary. /bin/qemu-system-x86_64(v4.2.1) is the recommended option

Click Next

Now you will be prompted by the “Appliance version and files” tab

Since we downloaded the latest version from IpInfusion, click on the “Allow custom files” radio button

Click on the available file and click the “Import” button.

Or click “Create a new version”, name that version, and Import the downloaded OcNOS image file.

Choose your OcNOS qcow2 file and click OK

Wait for the upload to finish, it may take some time.

Click Finish.


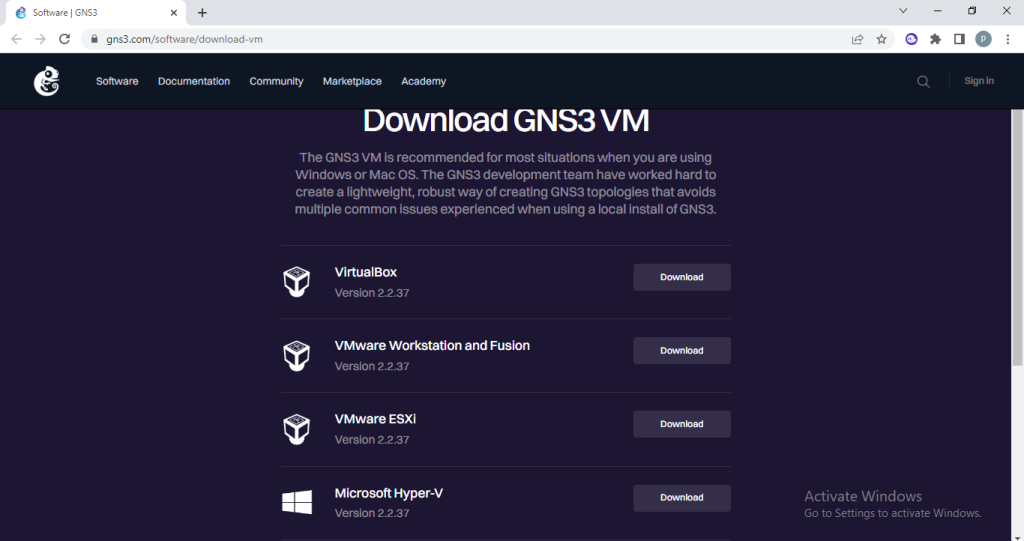
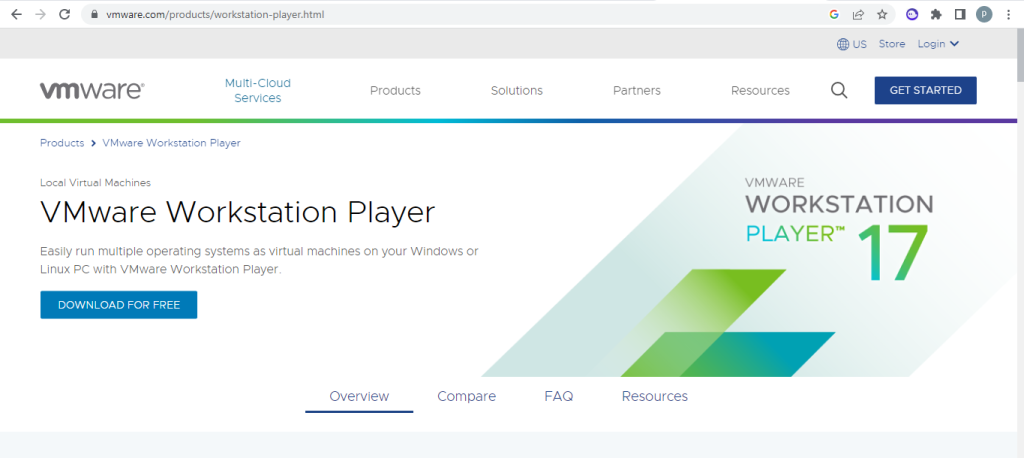
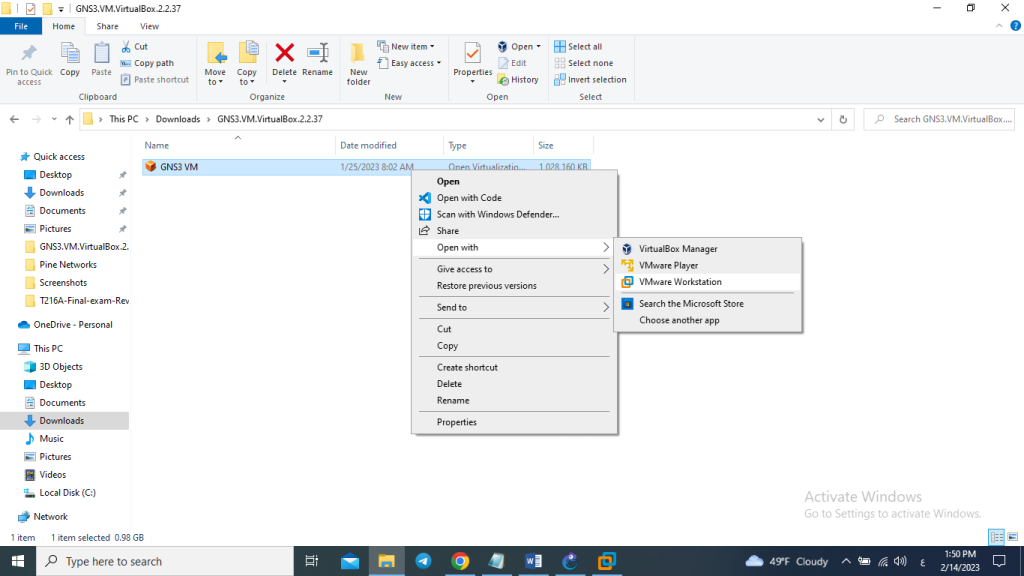
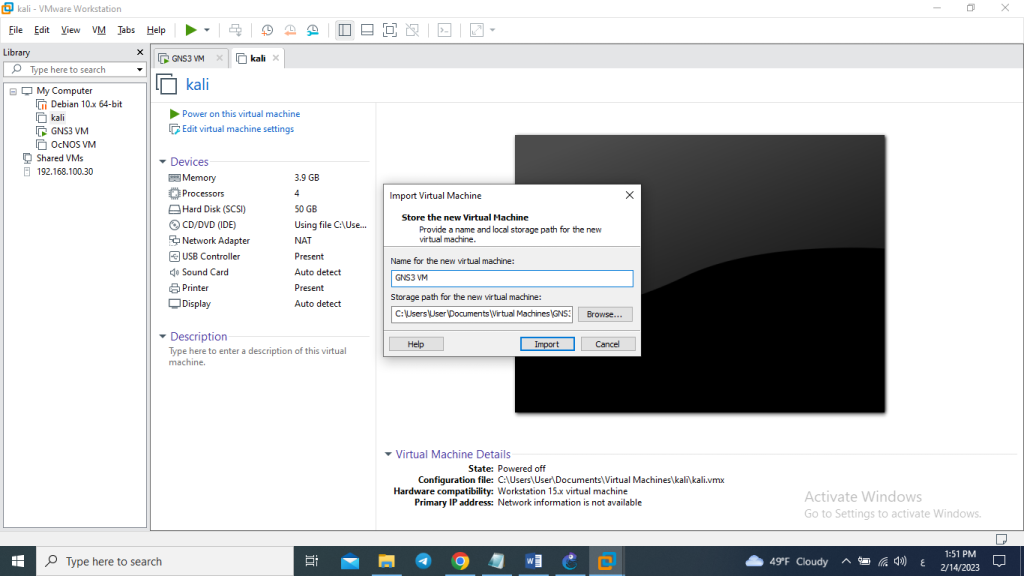
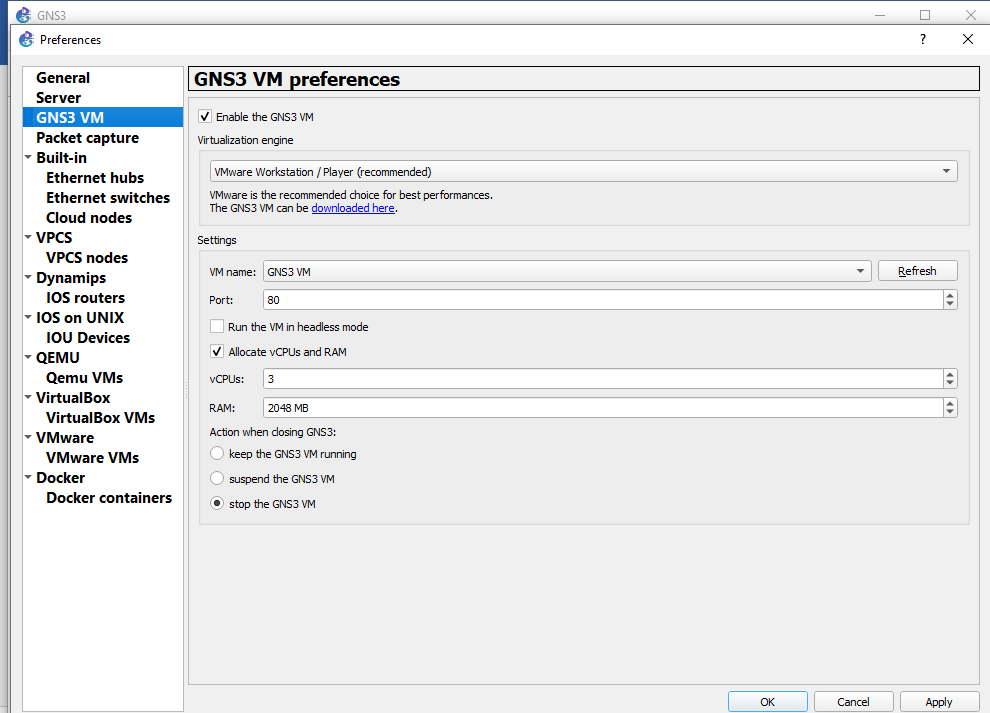
Note: We are using VMware Workstation since it is the recommended option and there is a lot of limitations while using VirtualBox

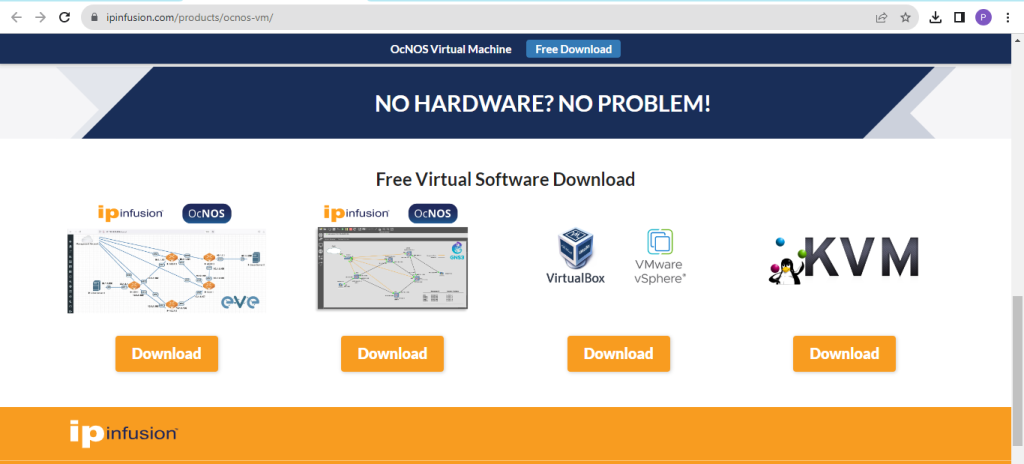
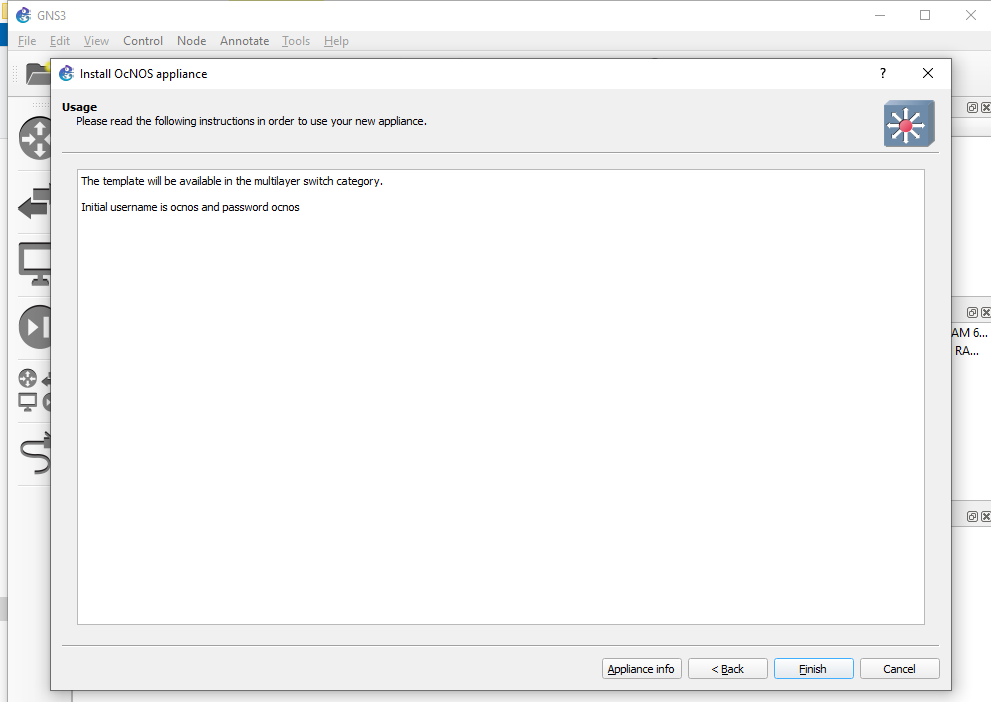
That’s it! With these steps, you should have GNS3, GNS3 VM, and an OcNOS image successfully installed and configured on your system.


In the next article, we will take the next step in our network simulation journey and configure OSPF dynamic routing between two OcNOS routers.

Leave a Reply

Your email address will not be published. Required fields are marked *