Setting up SONiC on GNS3
In this article I will explain how to run SONiC on GNS3 so you can check out its functionalities.
SONiC stands for Software for Open Networking in the Cloud. SONiC Network Operating System is a Linux based open source solution for managing network infrastructure. Developed by Microsoft in 2016, SONiC was initially created for their Azure cloud data centers, but it has since gained popularity and adoption in the industry.
Sonic was developed to be compatible with SAI (Switch Abstraction Interface), an open standard that defines a common API for network switch ASICs (Application Specific Integrated Circuits). As a result, it offers a flexible and modular network operating system that can run on a variety of whitebox hardware platforms, such as Edgecore Networks, Celestica, Dell, Detla and so on. This makes Sonic an appealing option for disaggregated networking since it enables businesses to make use of open source software on cost-effective white box hardware.
As more businesses seek to reduce costs and gain more control over their network infrastructure, the networking sector has seen a spike in the adoption of open source solutions in recent years. With its versatile and adaptable network operating system, SONiC has become a top open source option in this field. SONiC is becoming a more widely used option for managing network infrastructure at scale by facilitating continuing upgrades and innovation via more openness and community involvement. SONiC’s acceptance and popularity are anticipated to increase even more as the movement toward open source solutions picks up speed, confirming its place as a major player in the open source networking market.
Today there are several SONiC distributions with commercial support to choose from. Some of the popular SONiC NOS distributions include: Edgecore Networks SONiC, Dell SONiC Distribution (Dell EMC), SONiC Distribution by NVIDIA, SONiC Distribution by Broadcom and so on.
One of SONiC’s main advantages is its capacity to offer a network infrastructure that can be customized and scaled to suit the needs of different sectors and businesses of varied sizes. Due to its adaptability and open source status, SONiC may be used by service providers, small and big enterprises, and data centers. For instance, data centers may use Sonic to manage the network infrastructure, increasing productivity and lowering expenses. The ability to customize SONiC’s network operating system to meet the unique demands of small and large businesses enables them to innovate and roll out new services more quickly. Service providers may employ SONiC to give their consumers access to a more flexible and responsive network infrastructure, giving them a competitive advantage in the market.
SONiC supports various features and functionality including:
- Layer 2
- Layer 3
- ACLs, QoS
- VXLAN
- Timing
- Monitoring and Security.
In conclusion, SONiC Network Operating System is a top open source networking solution since it provides a
customized,
adaptable, and
scalable network architecture ideal for a variety of businesses and organizations.
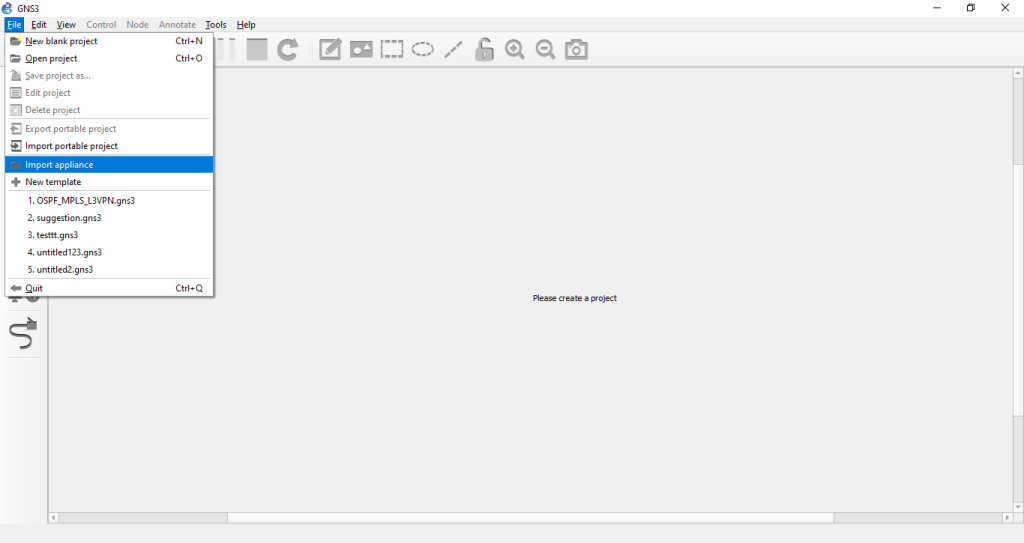
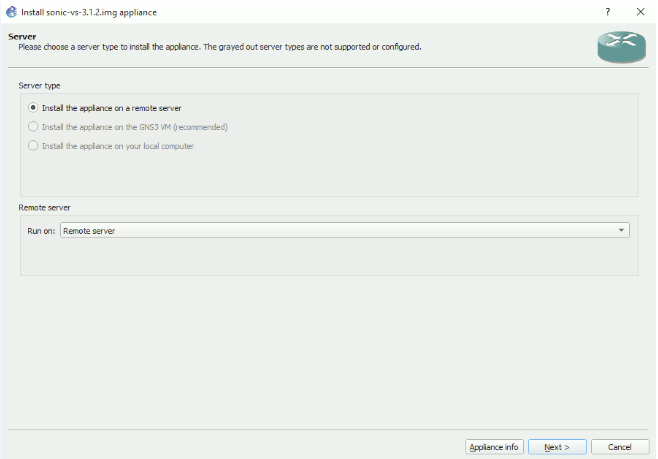
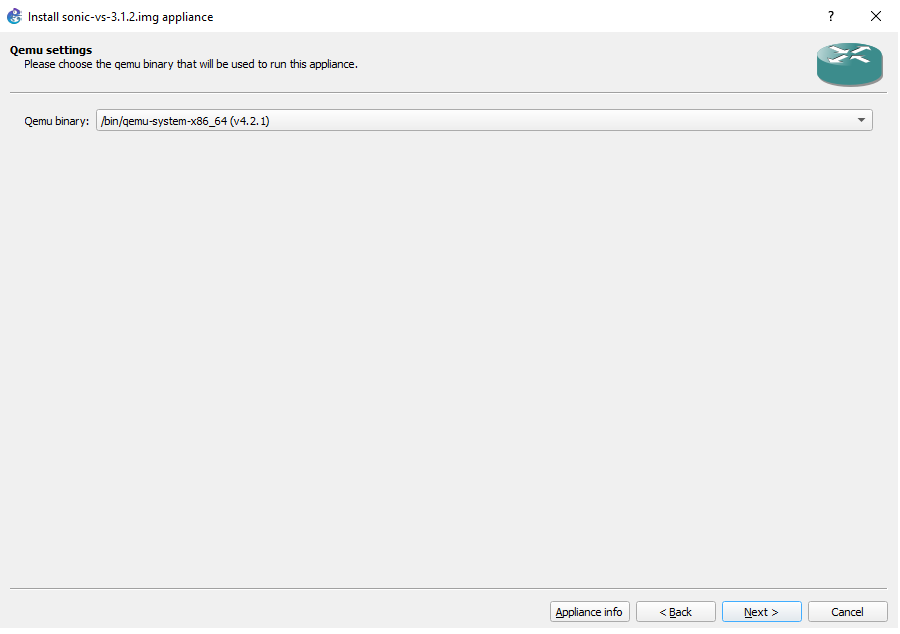
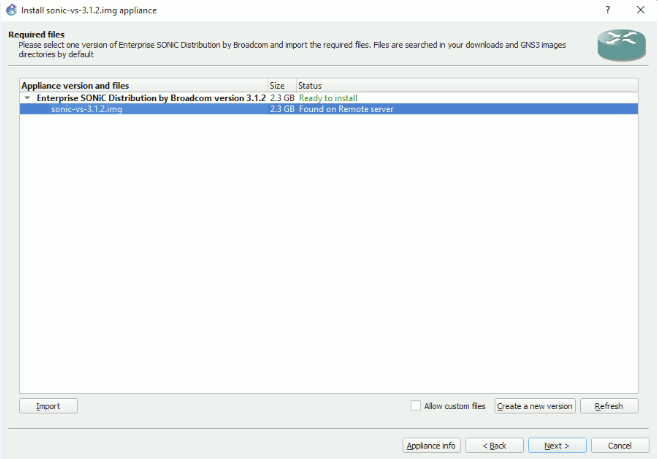
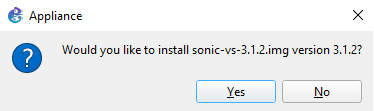
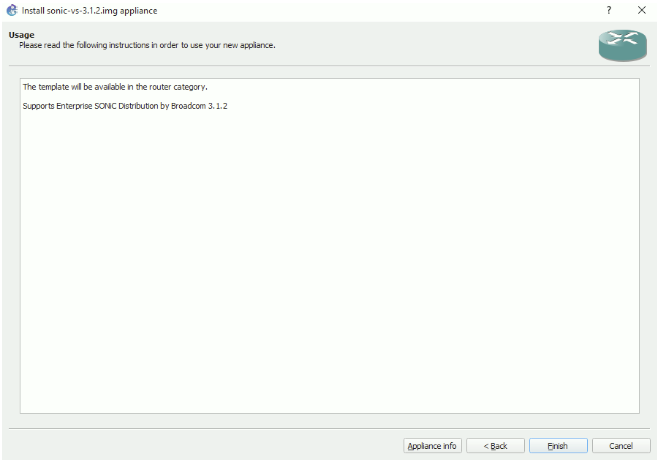
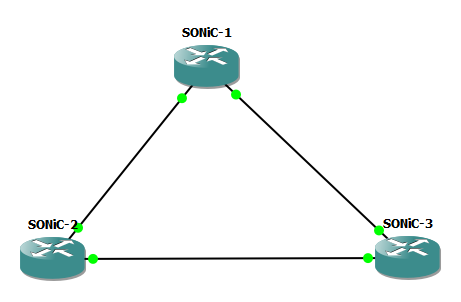
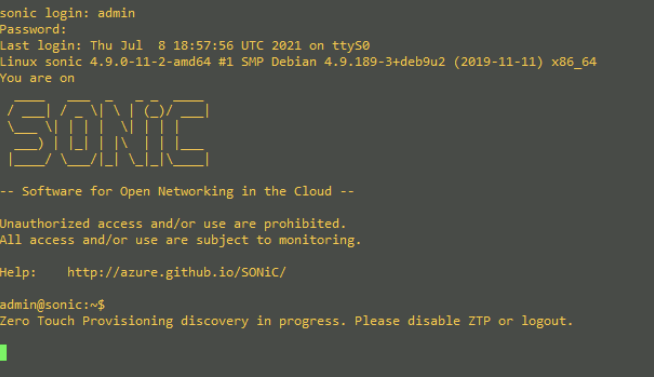
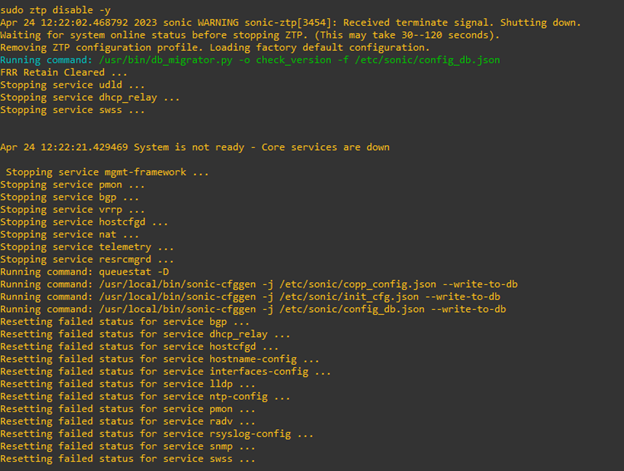
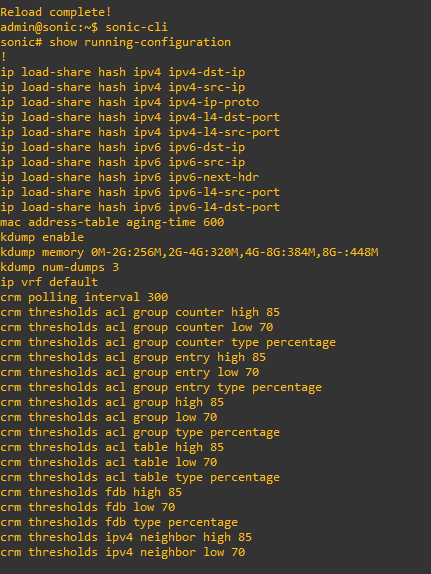
To try out SONiC Network Operating System on GNS3, you need to follow the below steps: