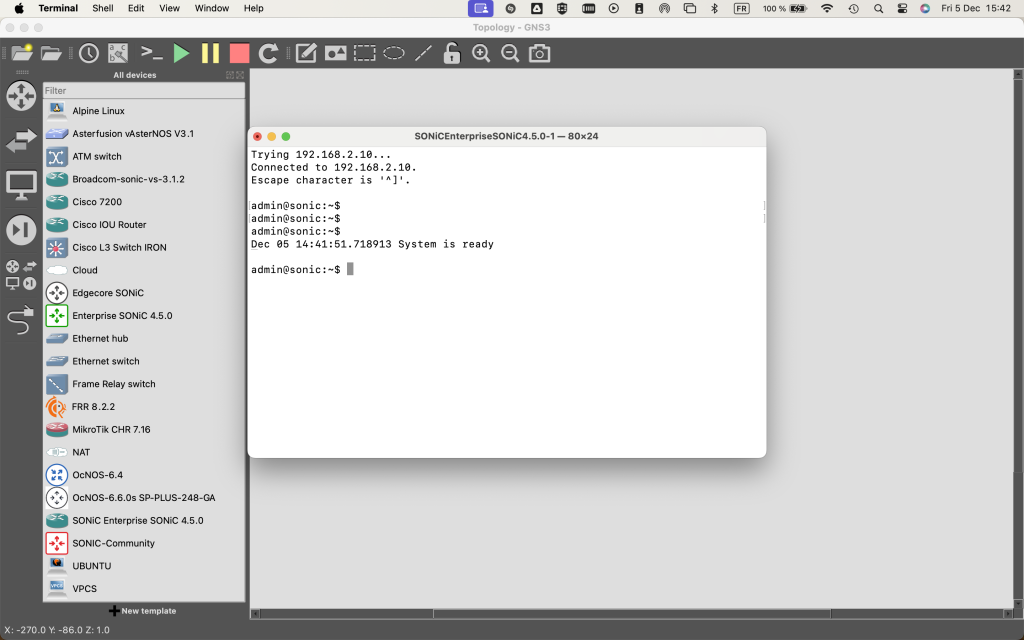
In this article we will show you how to install Enterprise SONiC in GNS3.
GNS3 is a virtual networking playground that lets you build and test networks on your computer without needing any physical hardware. You can drag and drop routers, switches, servers, and firewalls onto a canvas and connect them just like you would in a real lab. It’s free, easy to use, and great for learning, experimenting, or validating ideas before rolling them out in production. GNS3 also supports a wide range of network devices, which makes it especially helpful for testing interoperability between SONiC and other vendors.
You can download GNS3 from the official site: www.gns3.com
To install SONiC on GNS3, you need the following:
- SONiC Virtual Switch image
- SONiC gns3a appliance file
You can download the virtual switch image from the Broadcom github https://github.com/Broadcom/sonic-VirtualSwitch/releases/tag/3.1.2
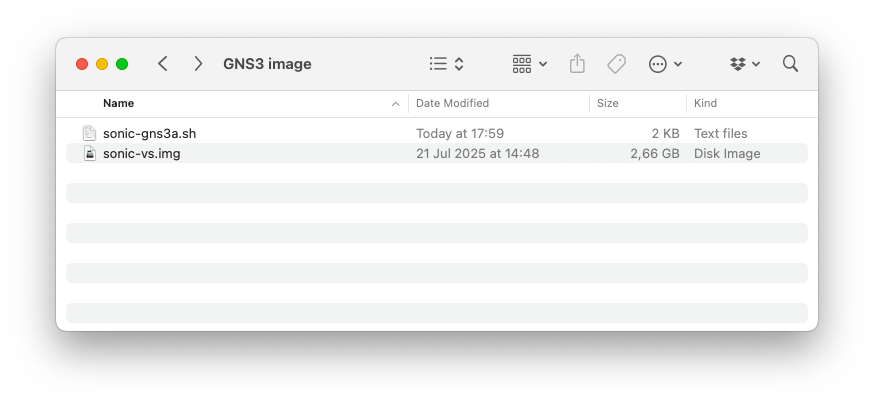
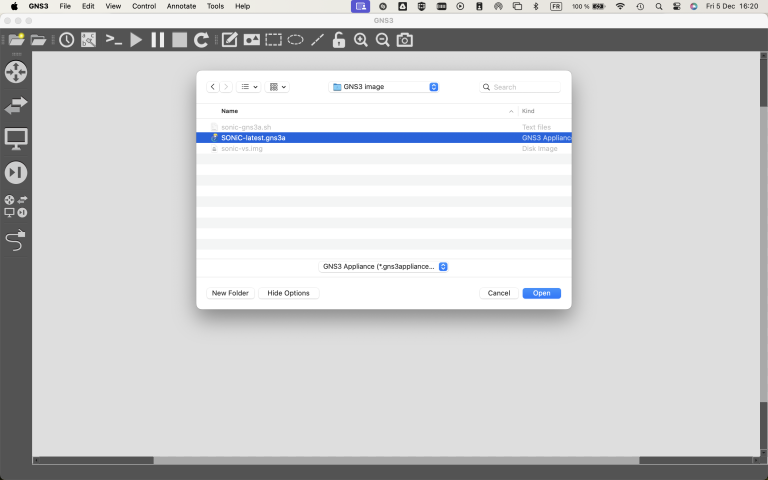
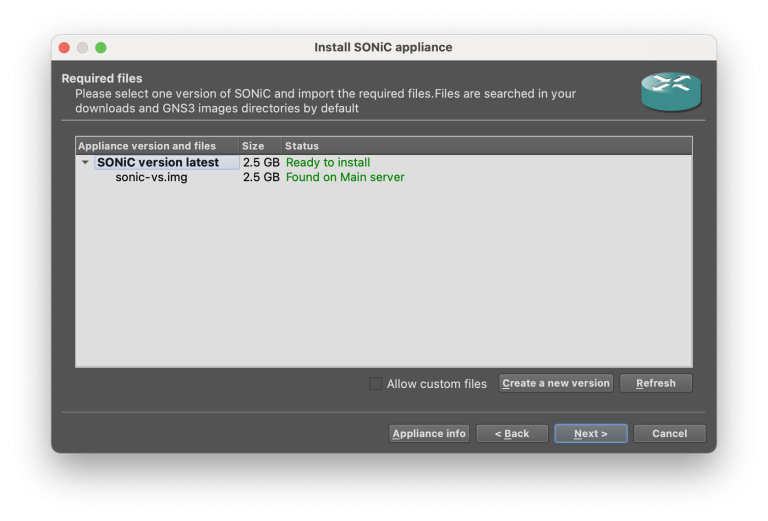
The image should be called sonic-vs.img if it’s not change the name to sonic-vs.img to ease the importing in GNS3.
If you need another version please get in touch with us. CONTACT US
SONiC-VS image provides users the ability to verify the control plane functions (for example. BGP, MC-LAG) on a typical data center switch.
The Features Supported with SONiC-VS Image:
- eBGP / iBGP – (underlay and overlay)
- MC-LAG
- OSPF underlay with BGP / EVPN as overlay
- Numbered and un-numbered interfaces
- BGP un-numbered
- Route leaking
- Multi-VRF (Multi-tenants)
- BFD
- VLAN
- Static Anycast Gateway
- etc
The data plane functionality (for example ACL, QOS, PBR) is not supported by SONiC-VS as it does not have underlying physical platform.
You also need a GNS3 appliance file. The GNS3 appliance file (.gns3a) acts as a blueprint that automates how SONiC is deployed inside GNS3. Instead of manually configuring QEMU settings, hardware parameters, and disk images, the appliance file bundles all the required metadata—CPU, RAM, NIC types, supported images, and recommended defaults—so SONiC boots with the correct environment every time. This makes importing and running SONiC in GNS3 fast, repeatable, and error-free.
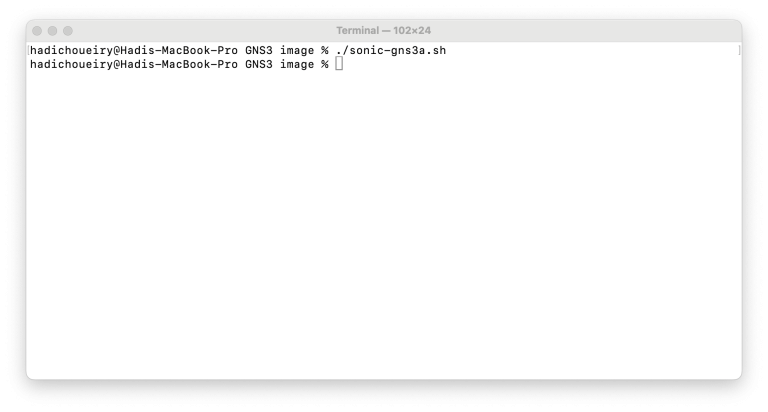
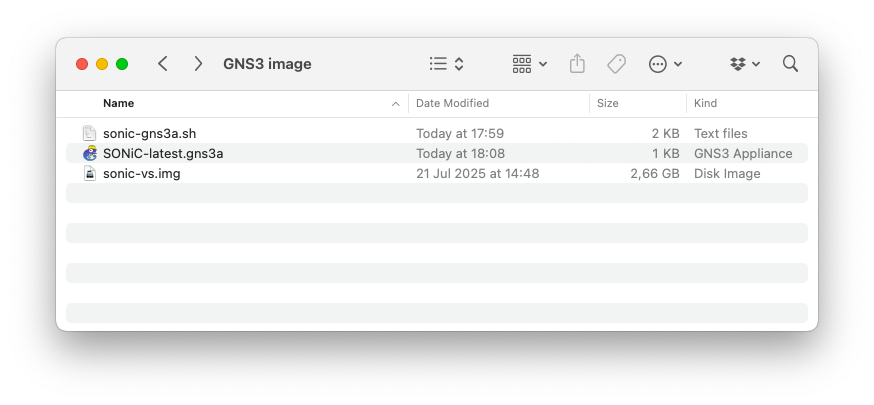
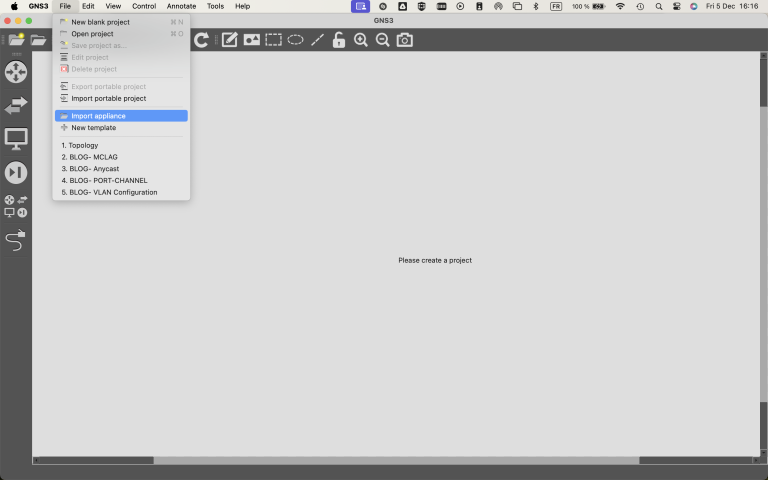
Step 1 : Creating SONiC GNS3 appliance file
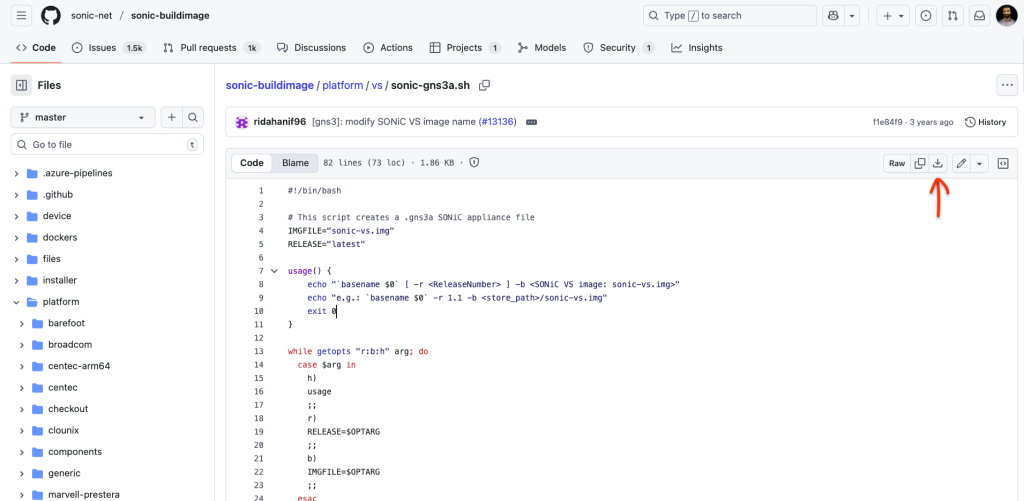
You can create the GNS3 appliance using a script available on the SONiC Github. Go to https://github.com/sonic-net/sonic-buildimage/blob/master/platform/vs/sonic-gns3a.sh
Download the file by clicking the download button next to the “Raw” button. Save it in the same directory as the SONiC image you downloaded.